
Last updated: December 03, 2025
Written by Balotellio_Writer, Home Insurance & Money Basics Educator
If your home burned down tomorrow, could you list everything you own well enough for your insurance company to pay you fairly?
Most people can’t.
That’s why they end up underpaid on claims—not because the insurer is evil, but because they don’t have proof.
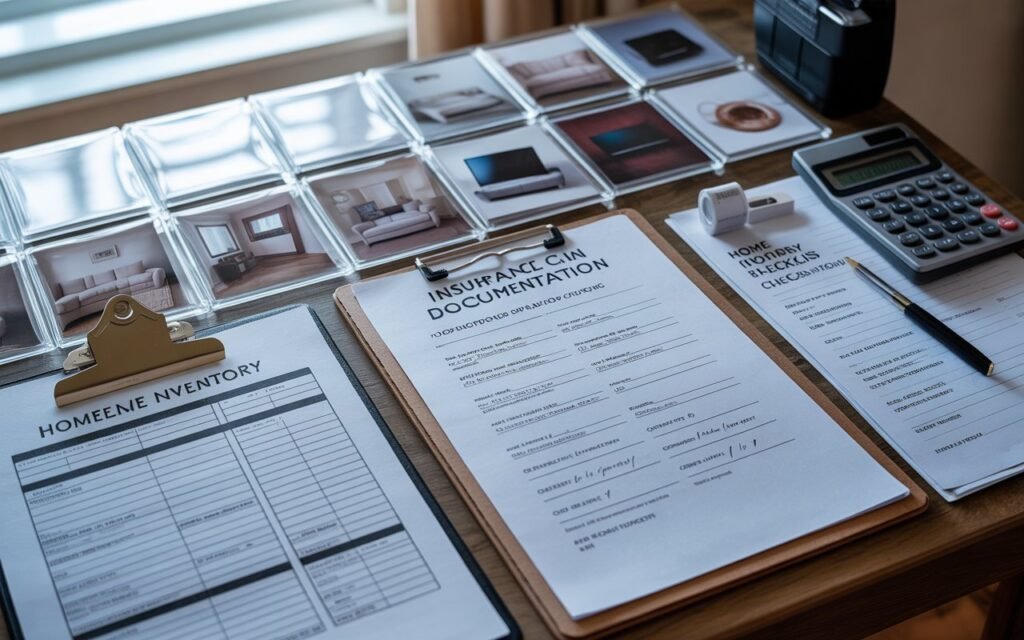
That’s exactly what a home inventory for insurance claim is:
a simple record (photos + basic details) that proves what you owned and roughly what it was worth.
The good news: you don’t need a spreadsheet from 1998 and a weekend of misery.
You can build a powerful, claim-ready inventory with just your phone camera and a super simple template.
Let’s walk through it step by step.
1. What Is a Home Inventory (and Why Insurers Love It)?
Insurance experts define a home inventory as a detailed list of your belongings, usually with photos, values, and basic item info. It’s used to:
- Prove what you owned before a loss
- Help you get paid faster and more accurately after a claim
- Help you figure out if you have enough personal property coverage in the first place
Regulators and insurance institutes point out that a good home inventory:
- Makes it easier to settle claims
- Helps you verify losses for taxes or disaster aid
- Helps you avoid being underinsured on personal property
So this isn’t busywork. It’s a cheat code for smoother claims and smarter coverage.
2. Why the Phone Photo Method Is the Easiest Way
You can do a home inventory on paper only. But most official guides now say to use photos or video because it’s faster and more convincing:
- The Insurance Information Institute recommends using photos, video, and apps to make your home inventory easier to create and update.
- NAIC and several state insurance departments tell consumers to walk through the home with a smartphone or camera and visually document every room, drawer, and closet.
- Many modern guides mention that video can be one of the fastest ways to document everything—and apps make organizing it easier.
Why the phone-photo method wins for your readers:
- They already have the tool (their phone).
- Photos and video show condition + quantity in a way an adjuster trusts.
- Timestamps + cloud backup = easier proof if the worst happens.
You just need a simple system so it doesn’t turn into chaos.
3. Step-by-Step Home Inventory for Insurance Claim (Phone Photo Method)
Use this flow with your readers as a “do it this weekend” plan.
Step 1: Make a “Home Inventory” Album on Your Phone
Create a new album/folder called:
Home Inventory – [Your Address or Last Name]
Inside, you’ll eventually have:
- One short video per room
- Still photos of:
- Each room overview
- Important individual items
- Serial numbers and receipts
Later, you’ll pair this with the free template in section 4.
Step 2: Do a Fast Room-by-Room Video Walkthrough
This is your 5–15 minute base layer.
Follow the approach recommended by insurance departments and home-insurance blogs: walk through every room slowly, recording video and narrating what you see.
For each room:
- Stand in the doorway, slowly pan across the whole room.
- Open closets, drawers, and cabinets.
- As you film, talk out loud:
- “Living room: 65-inch Samsung TV bought in 2022, soundbar, two Sonos speakers, leather sofa, coffee table, rug…”
- “Kitchen lower cabinets: pots and pans set, stand mixer, blender, air fryer, dishes set for 8…”
Don’t obsess about perfect detail. Your goal is coverage, not perfection.
If you only did this one step, you’d already have a decent home inventory for insurance claim purposes. But we’re going to make it stronger.
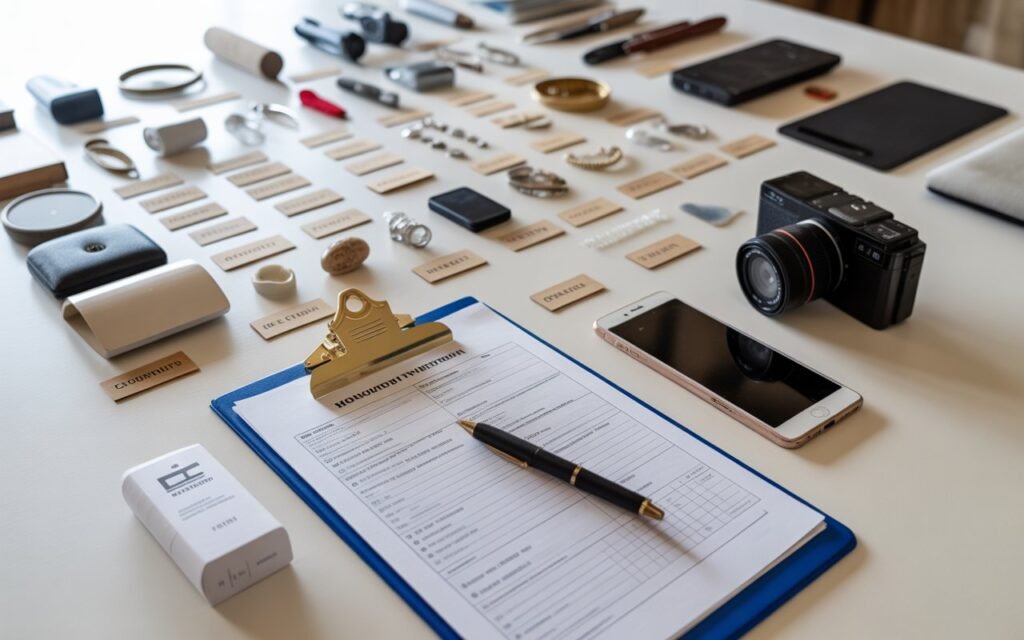
Step 3: Take Still Photos of High-Value Items
Now do a second pass (or pause the video walk) to photograph important stuff:
- TVs, computers, game consoles
- Laptops, tablets, phones, cameras
- High-end furniture and rugs
- Musical instruments
- Tools and equipment
- Sports gear (bikes, golf clubs, skis)
- Jewelry, watches, designer bags
- Art and collectibles
For each item, try to capture:
- The item itself
- Brand / model label
- Serial number (back, bottom, or inside)
NAIC and other consumer guides specifically recommend recording serial numbers for electronics and appliances; it helps confirm ownership and value.
Pro tip you can mention:
Take a photo of the serial number right after the item photo so they’re next to each other in your camera roll.
Step 4: Snap Photos of Receipts, Invoices, and Appraisals
If you have receipts or appraisals for big-ticket items, take pictures of those too:
- Jewelry appraisals
- Art valuations
- Digital receipts (open on screen, then screenshot or photograph)
- Warranty docs with model and price
NAIC and state checklists say that receipts and proof of value make claims easier to settle and speed up payouts.
You can keep the originals in a safe, but photos mean you still have proof even if paper burns.
Step 5: Back Everything Up
Once you’re done:
- Upload your album to a cloud service (Google Drive, iCloud, Dropbox, etc.)
- Optionally share read-only access with a trusted person or email the link to yourself
Multiple official guides specifically recommend storing home inventory records offsite or in the cloud so they survive a disaster.
Now you’ve got a strong visual home inventory for insurance claim use. Next we’ll add a simple written layer.
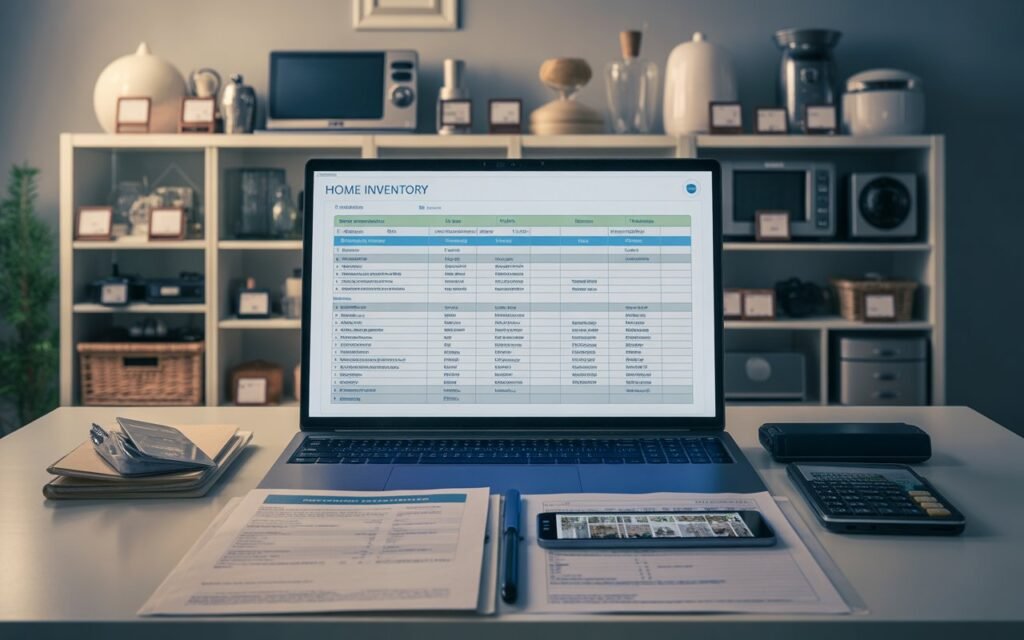
4. Free Template: Simple Home Inventory for Insurance Claim
Here’s a copy-and-paste template your readers can use in Google Sheets, Excel, Notion, or a plain document. It matches what regulators say an inventory should include (brand, price, date, serial, etc.).
Suggested Columns for Your Home Inventory Sheet
| Room/Area | Item | Brand / Model | Serial # | Purchase Date | Purchase Price | Est. Current Value | Photo/Video File Name | Receipt / Proof Location | Notes |
|---|
Example row:
| Living Room | 65″ TV | Samsung QN90B | SN: QN90B-12345 | 2023-03 | $1,600 | $1,200 | LR-TV-01.jpg | Email from Best Buy | Main family TV |
Use your phone album as your memory jogger: walk room by room, pause the video, and enter key items into this template.
If your readers want something more structured, you can also point them to:
- The NAIC Home Inventory app (free, with photo and barcode scanning)
- State home inventory checklists (PDFs from state insurance departments that you can print or type into).
But even a simple sheet like this, plus phone photos, is enough for a very solid home inventory for insurance claim situations.
5. What Details Do Insurers Actually Look For?
Insurance departments and credit bureaus are surprisingly consistent about what makes a “good” inventory:
For each important item, try to capture:
- Description (what is it, what does it look like?)
- Brand and model
- Serial number (for electronics/appliances)
- Approx purchase date
- Purchase price (or best estimate)
- Estimated current value (what it would cost to replace today, or a realistic resale value)
- Photo or video
- Receipts, invoices, or appraisals if you have them
For clothing and smaller items, many guides recommend summarizing by type, like:
- “8 pairs of jeans, 12 work shirts, 4 coats, 3 pairs of dress shoes”
You do not need to individually list every spoon, but you should list:
- Expensive cookware sets
- Specialty items (Le Creuset, high-end knives, etc.)
6. Commonly Overlooked Items People Forget to Inventory
When people rush a home inventory for insurance claim, they almost always miss:
- Closets full of clothes and shoes (especially kids’ clothes and coats)
- Kitchen cabinets (small appliances, cookware, expensive knives)
- Garage tools (power tools, lawnmower, snow blower, ladder, specialty equipment)
- Sports and hobby gear (bikes, skis, golf clubs, camping gear, musical instruments)
- Collections (vinyl, comics, coins, cards, Lego sets)
- Items in storage units (yes, most policies cover belongings in storage—you still need them in the inventory).
A good trick:
When you think you’re done, watch each room’s video one more time and ask,
“If this room vanished, what would I be most mad about paying to replace?”
Make sure those items are clearly visible or called out somewhere.
7. How Often to Update Your Home Inventory

Most guides suggest:
- Review your home inventory once a year (good time: at renewal or tax time).
- Update it after big purchases: new TV, laptop, furniture, jewelry, appliances.
- If you remodel (new kitchen, flooring, etc.), do a new room video and add key items.
You don’t need a full re-do every time. Just:
- Add new items
- Remove stuff you sold or tossed
- Refresh the video if a room changes a lot
Think of it like a living document that grows with your home.
8. How to Use Your Home Inventory During an Insurance Claim
When something bad happens—fire, theft, major water damage—your insurer will ask for proof of loss. That’s exactly what your home inventory for insurance claim is built for.
Here’s how it helps:
- Right after the loss
- Make sure everyone is safe, call 911 if needed.
- Take fresh photos/video of the damage.
- When you contact your insurer
- Provide your policy number and basic summary of what happened.
- Tell them you have a documented home inventory with photos and serial numbers.
- When they ask for itemized losses
- Export or share your inventory sheet.
- Attach matching photos and any receipts/appraisals.
- Highlight high-value items and anything scheduled separately (like jewelry).
- During the claim
- If the adjuster questions an item, you can show:
- Pre-loss photos
- Serial numbers
- Proof of purchase
- If the adjuster questions an item, you can show:
This is the difference between saying “I think we had a 65-inch TV” and showing a timestamped photo with model number and receipt. One gets you paid faster and more fully.
9. Quick FAQ: Home Inventory for Insurance Claim
Q1: Do I really have to list everything individually?
No. For low-value, high-quantity stuff (basic clothes, books, dish sets), it’s fine to group items (“10 T-shirts, 8 pairs of jeans”). Focus detailed entries on higher-value items.
Q2: Is video alone enough for a home inventory for insurance claim?
Video is a fantastic start and many insurers/experts recommend it, but pairing it with at least a simple written list makes it easier to total values, check coverage, and share organized proof during a claim.
Q3: Are there free tools to help besides my own spreadsheet?
Yes. There are several free or low-cost home inventory apps (including the NAIC Home Inventory app) that let you attach photos, scan barcodes, and export your list.
Q4: Where should I store my home inventory?
Keep at least one copy outside your home:
- Cloud storage
- Email to yourself
- Or a USB in a safe deposit box / relative’s house
Insurance departments repeatedly stress offsite storage so the inventory survives if your home doesn’t.
Q5: When should I start?
Honestly? Now, even if you just do one room with your phone. Every extra photo and note you add makes your future self’s life easier if you ever have to file a claim. You can build the rest over time.